Please note that the mesh used is a polyethylene raschel mesh that is not biodegradable and, therefore, adds to plastic waste if disposed of improperly. Please dispose of in an appropriate manner when its useful life is over (by the way, this material is very resilient and can last for many years).
The following 4 photos, 1, 2, 3, and 4, show all the parts you should have received plus the tools you will need to assemble and deploy the standard fog collector.
There should be
1 – 1.00 m2 mesh mounted on a copper frame.
2 - 1-inch diameter, 5-foot-long galvanized pipes with ¾” inserts for fitting.
2- 1-inch diameter, 5-foot-long galvanized pipes each with three through holes drilled into them.
6 – threaded rods, each about 29 cm long
One trough
4 green guy wires
8 wire clamps
4 stakes
One 121 cm copper pipe with flattened ends with predrilled holes
12-13 mm nuts
16 washers
All copper pipe listed below is ½” diameter
2 7-inch pieces of copper pipe
2 pieces of copper pipe of about 6 inches, one slightly shorter than the other.
2 pieces of copper pipe of 4 inches
2 pieces of copper pipe of 2 ¾ inches
2 pieces of copper pipe of 2 inches
Bird spikes and several black plastic cable ties
Tools:
13 mm wrench (2 of them)
8 mm wrench
Hammer
Instructions
Begin by placing a nut and washer on the threaded rods as shown here.
Place each of these threaded rods in each galvanized pipe pole with the three holes drilled in it .
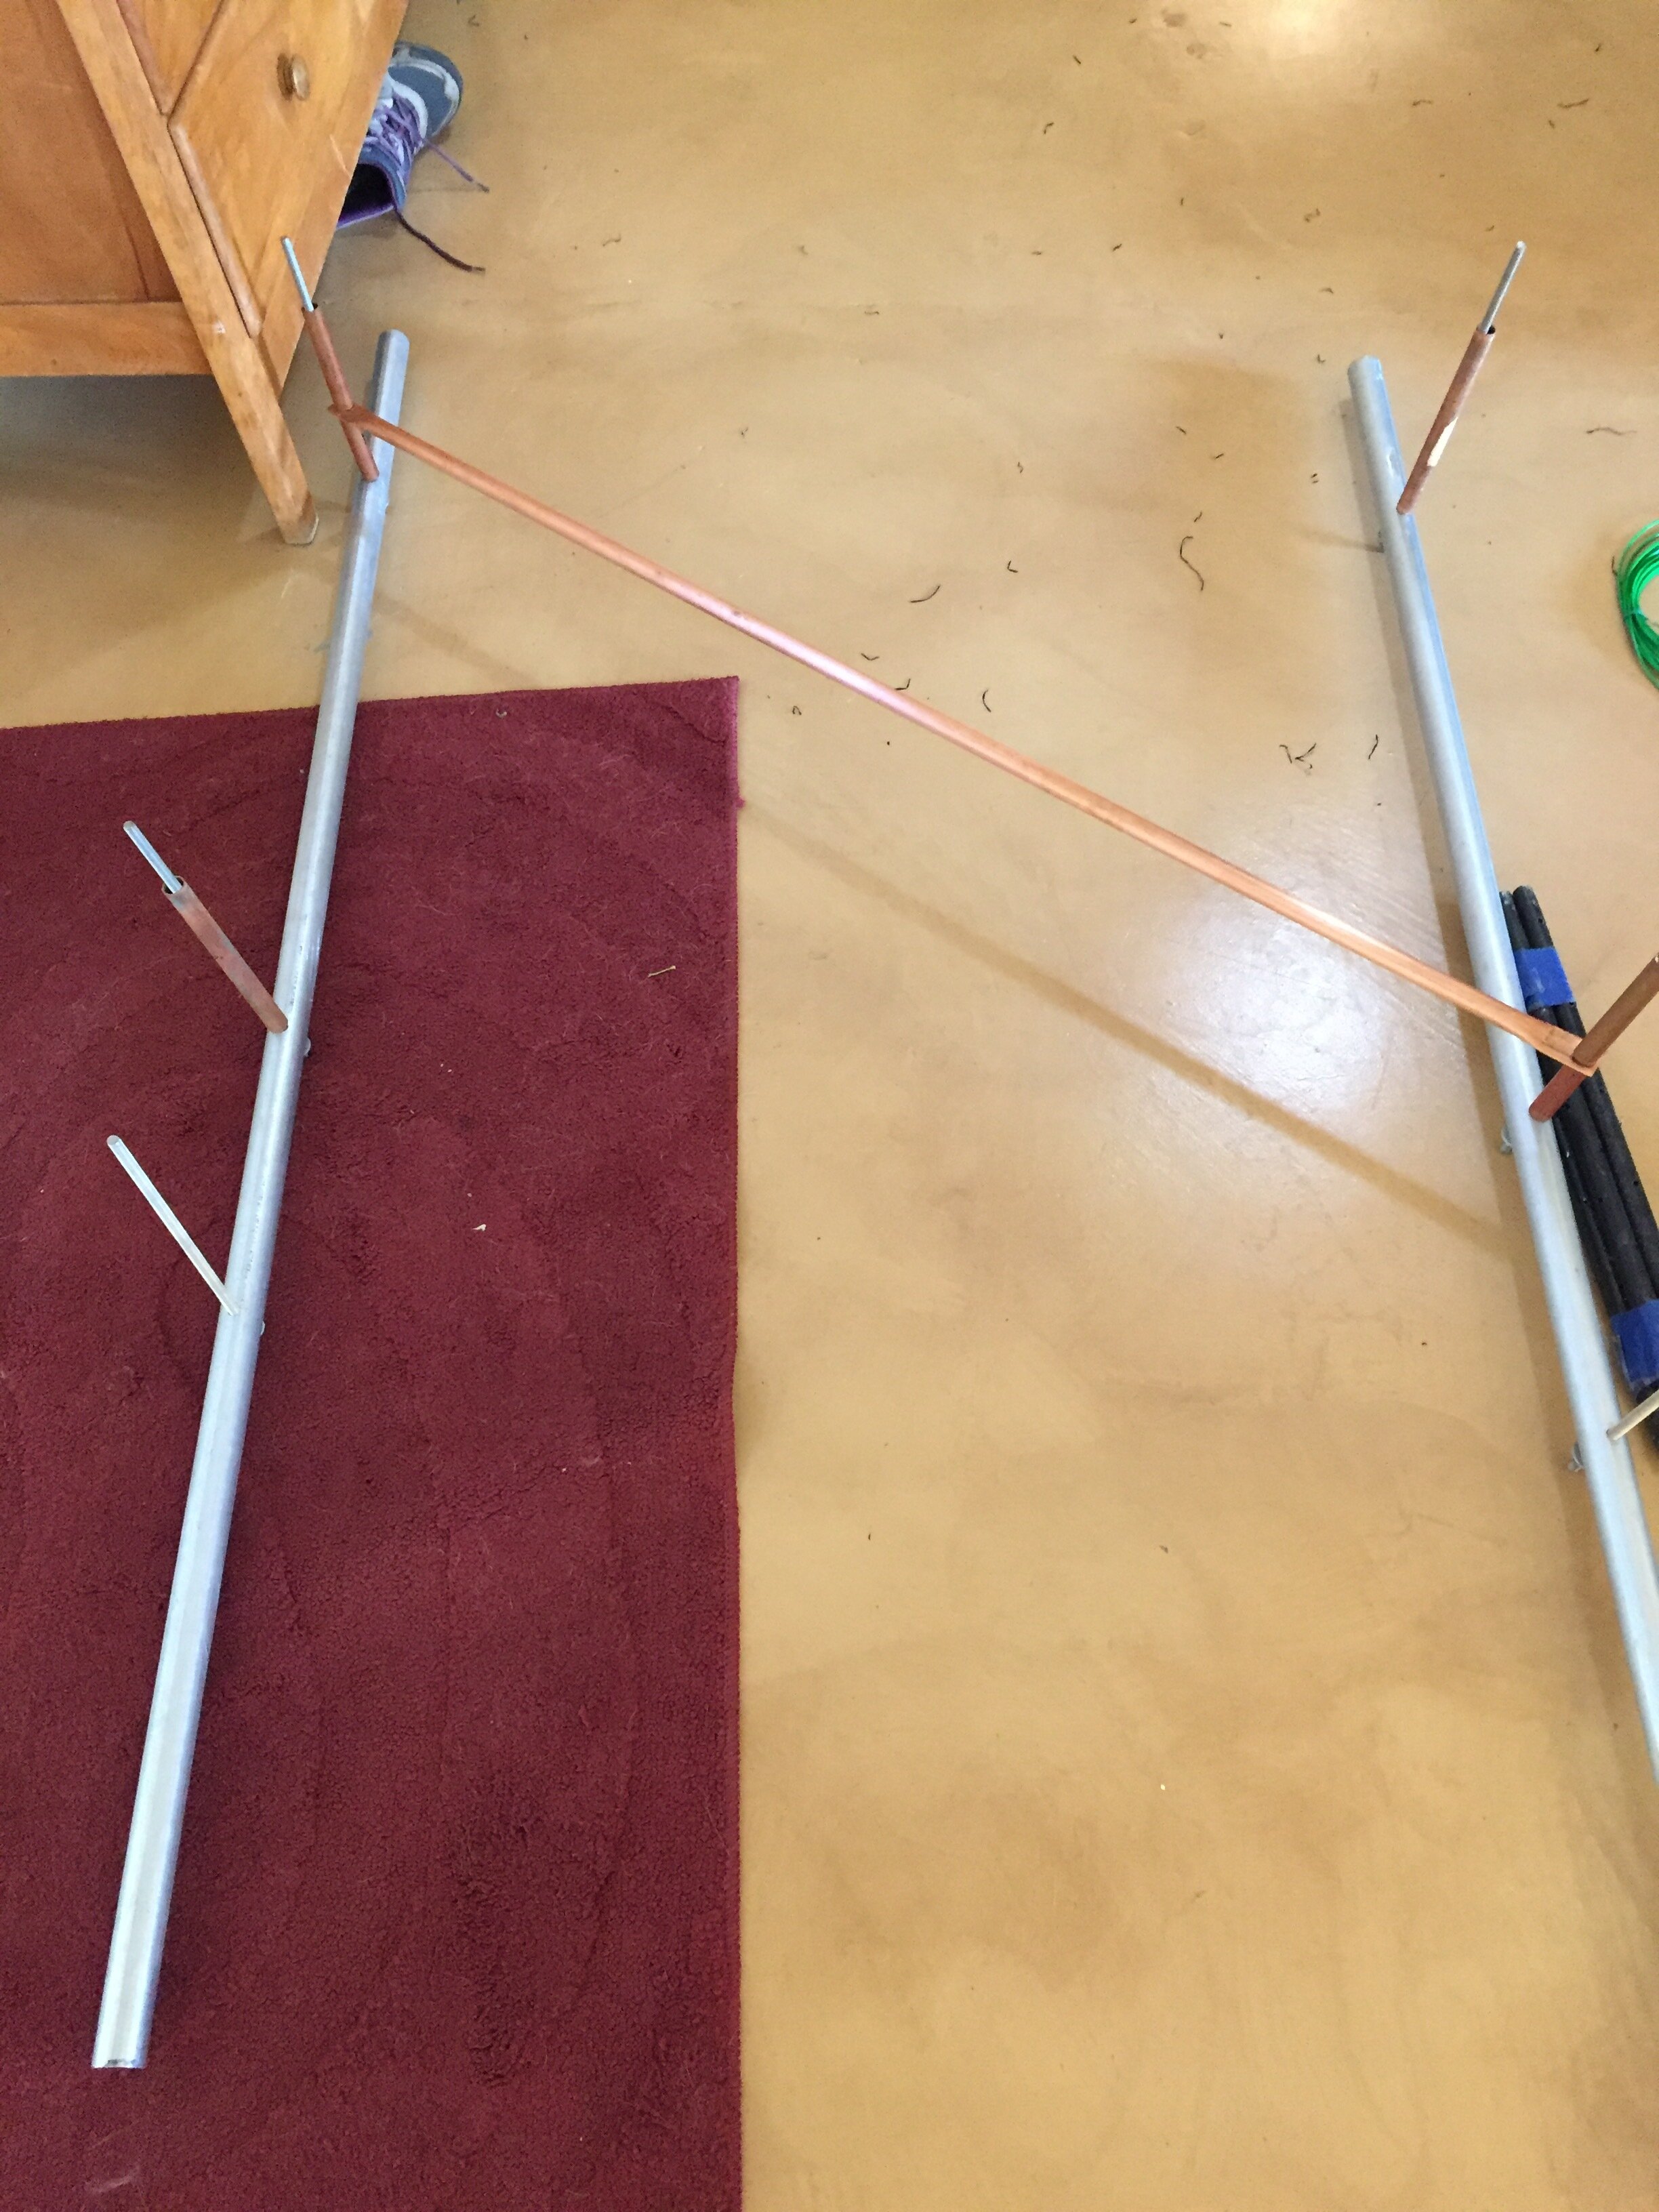
Lay the two poles side by side. On the topmost threaded rod on one of them, place a 7-inch copper pipe. On the middle threaded rod of that same pole, place the 4-inch copper pipe. This figure shows the outcome.
On the other pole, place the 7-inch copper pipe on the middle threaded rod and the 4 -inch copper pipe on the topmost one, as seen here.
Other pole with spacers
With the two 1-inch galvanized pipes spaced a meter apart and with the threaded rods pointed up, place the 121 cm copper pipe with the flattened ends (through the holes drilled in it) through the threaded pipes with the 4 inch copper pipes on them. On top of this diagonal cross piece, please place the 2 ¾” copper pipe spacers.
diagonal cross piece placed on frame
place mesh on frame carefully through drilled holes in copper square.
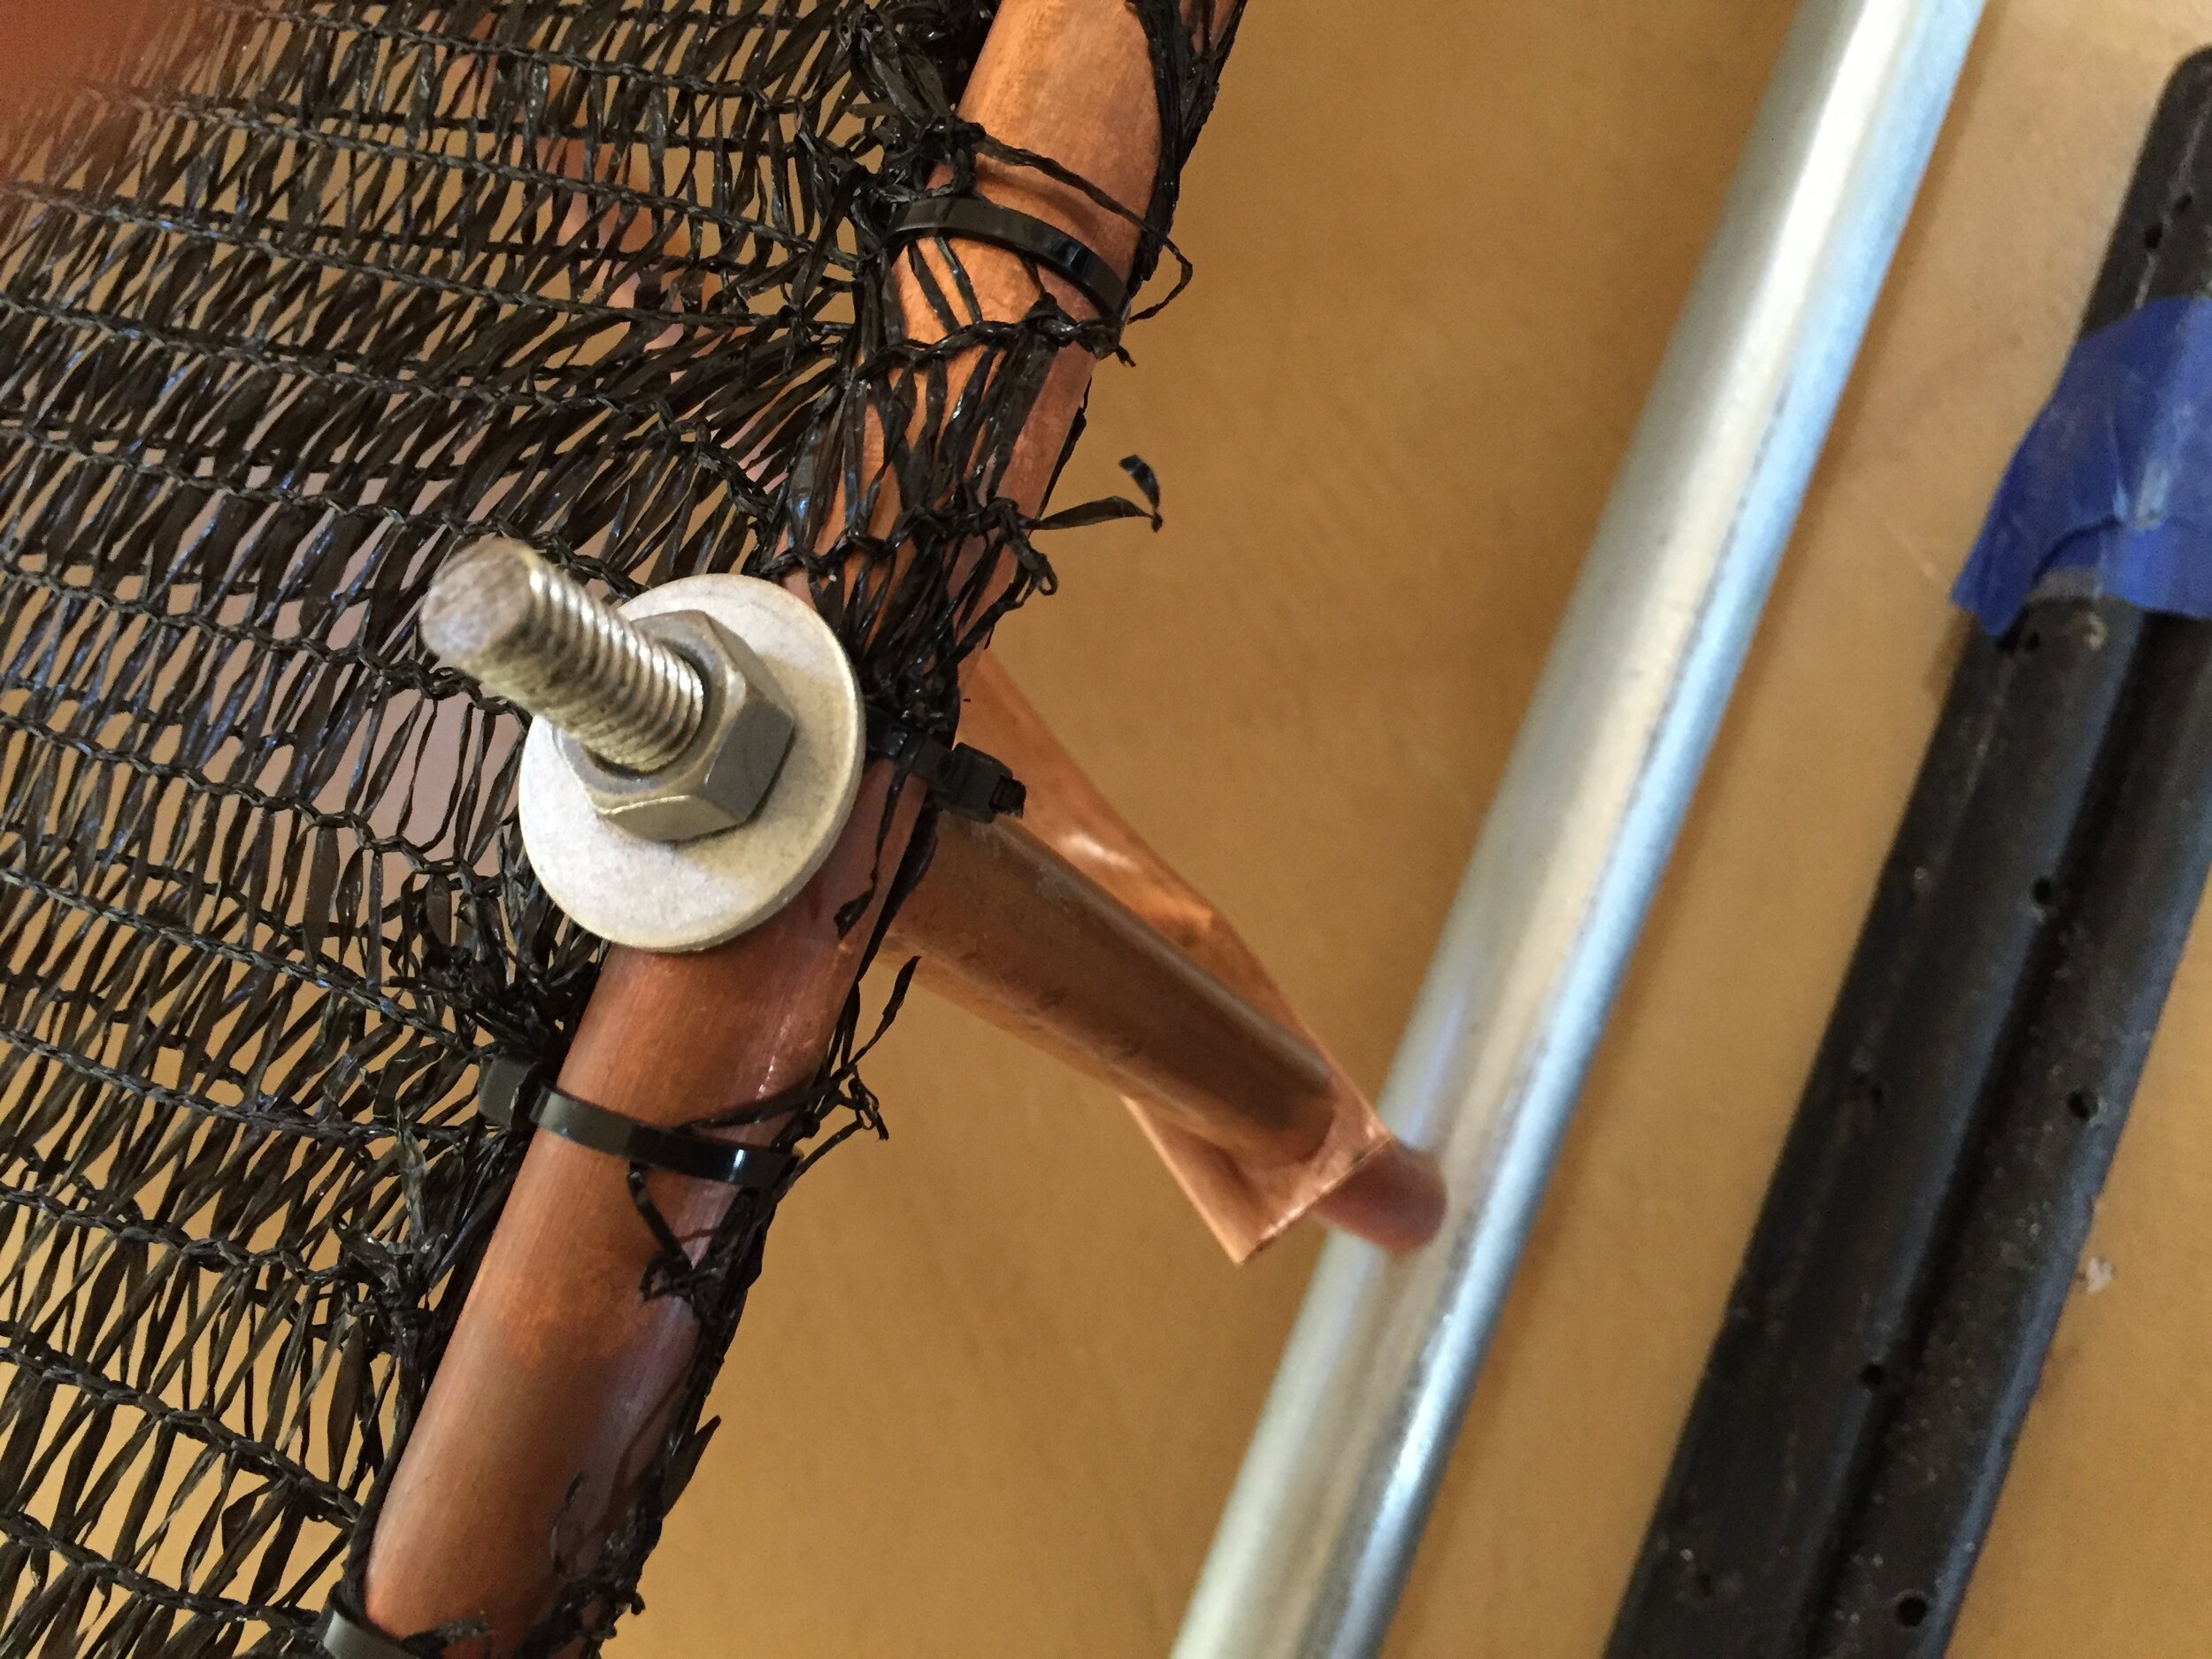
Now, locate the holes in the 1.00 square meter mesh frame. Carefully place them such that they fit through the threaded rods that have the copper spacers on them. With two or three people doing this, you can assure that the threaded rods make it through every hole evenly. As gently as possible, force the frame onto the rods evenly such that it touches the spacers at all four of its holes.
On each of the four protruding threaded rods, place a washer and a nut. Hand tighten them all and then tighten them further with the 13 mm wrench.
place a washer and nut on each of the protruding rods
tighten each of them with a 13 mm wrench (make sure they are all on by hand first).
Now, place the 2-inch spacers on the remaining available two threaded rods as shown below. On top of each of the spacers, place a washer.
place a 2-inch spacer on each of the remaining exposed threaded rods.
Place a washer on top of each of the two 2-inch spacers before placing the trough.
Now, with two people, carefully place the trough through on the threaded rods. The left-right orientation of the trough does not matter. Where the threaded rod comes through each hole, place the “longer” 6-inch spacer on the wider part of the trough and the “shorter” 6-inch spacer on the narrower part of the trough. Washers are not necessary, but can be used to take up space, if needed.
placement of the trough on top of the spacers. Please note that there needs to be a 6-inch and 5 7/8-inch spacer on the threaded rod within the trough.
placing the spacers in the trough
One side of the trough threaded rod emerges from the far side of the trough. Both need to be pushed through in conjunction.
Once the copper spacers are on the rod, place the other hole into the trough onto the threaded rod on both sides of the trough. You may need two people to do this in sync so that the holes remain evenly spaced as you thread them through. Once the trough is on, push it down as far as it can go onto the threaded rods so that it touches the 2 inch spacers below. Then, please place a washer and nut on the threaded rod on each side of the trough and tighten them with a 13 mm wrench.
One side of the trough with a washer and a 13 mm nut tightened
Now, the uppermost portion is complete. Begin preparation for deployment by attaching the green guy wire to the uppermost horizontal spacers using a cable clamp (or crimped wire in a loop) for each of the guy wires.
looping the guy wire around the uppermost-portion of the frame
Another view of the attachment of the guy wire to the frame.
Also, please attach the bird spikes to the top of the mesh frame using the cable ties provided. These prevent birds from roosting on top of the fog collector.
With at least two people, place the bottom poles into the topmost piece that you just assembled.
Placement of the bottom poles into the upper portion of the fog catcher assembly
Lift the fog collector such that it faces the direction that the fog-laden wind tends to come from. The front side of the fog collector is the side further from the diagonal copper support pipe. While at least one person holds the assembled fog collector in the vertical position and at the proper orientation for deployment, another person (or two) should determine the ideal location for the stakes to support the fog collector in each direction. The stakes should be placed such that the support wires are approximately 45 degrees from the vertical and such that they extend around 45 degrees from each axis of the fog collector. There is flexibility, depending on the practicality of each site, however.
Pound the stakes in at the desired locations and thread the cable wire through the hole in each stake. Make sure that everything is as taut as possible, using the cable clamp at each stake to adjust the tightness. The fog collector should be mounted as vertically as possible and the top of the trough should be horizontal.
The tipping bucket rain gauge should be placed at the end of the trough, where water would be expected to flow out during fog events.
Over time, the fog collector may sink into the ground and the guy wires may need tightening.


